` tag around the word **first** in the web page.
Admire the result in your browser.
Step 5 - More HTML tags
=======================
- Open :filename:`page1.html` on your text editor and on your web browser (a good idea is to use a new tab in both cases).
- Hum... the presentation is not what we expect. Let's change that!
- The tag :html:`` is for headings. Use it to define the title of the page.
- The tag :html:`
` is for paragraph. Try it!
- Check the result on your web browser.
Step 6 - Image (1/3)
====================
It's time to add an image in your page.
The element for including an image is **img** and the corresponding tag is :html:`![]() `.
Here is an example:
.. code-block:: html
`.
Here is an example:
.. code-block:: html
 And this is the result:
.. raw:: html
Step 6 - Image (2/3)
====================
.. code-block:: html
And this is the result:
.. raw:: html
Step 6 - Image (2/3)
====================
.. code-block:: html
 This tag has something new: ``alt`` and ``src`` are *attributes*.
Attributes specify behaviors of the tag.
Here, the ``src`` attribute indicates where to find the image, and the ``alt`` attribute defines an alternative text that will be displayed if the image cannot be loaded.
.. warning:: An :html:`img` tag does not need a closing tag.
It is quite rare.
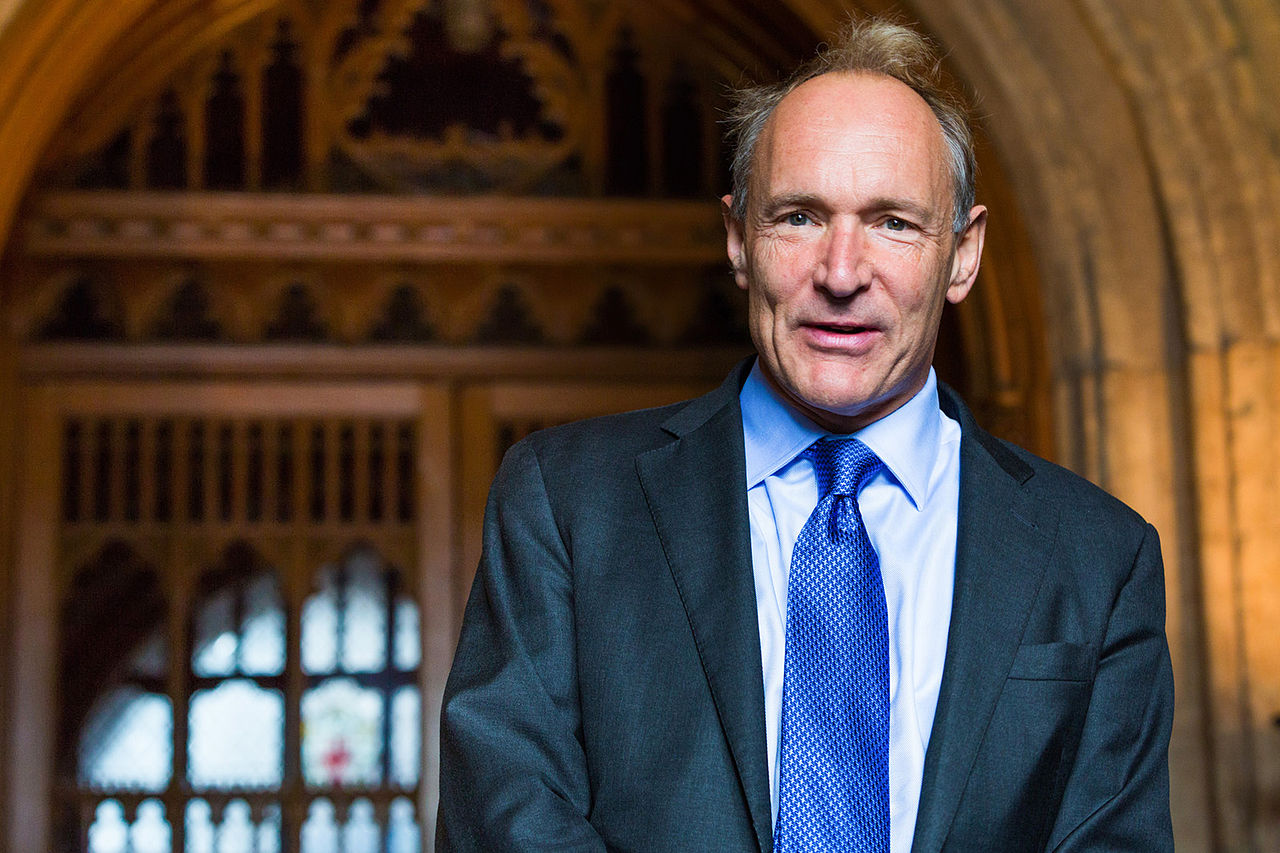
Step 6 - Image (3/3)
====================
Using the :html:`img` tag you have just learned, include in :filename:`page1.html` a photo of *Sir Tim Berners Lee*. You will find and image in the directory named :filename:`images`.
Be careful, as the photo is in the :filename:`images` directory, and because it is named "Sir_Tim_Berners_Lee.jpg", the ``alt`` attribute should be: ``alt="images/Sir_Tim_Berners_Lee.jpg``.
Step 7 - Links (1/3)
====================
HyperText is all about links... so let's make **links**.
There are two types of links: internal links (between your pages) and external links (to the web).
In both cases we use the same tag.
Let's see an example:
.. code-block:: html
Click here to go to the W3C web page
Like the :html:`img` tag, the :html:`a` tag has an attribute: ``href``.
Like most of the other tags, the :html:`a` element has a start and a end tag.
Step 7 - Links (2/3)
====================
Using the tag you've just learned (see below), add a link around the address at the bottom of the page.
.. code-block:: html
Click here to go to the W3C web page
Try it in your browser!
Step 7 - Internal links (3/3)
=============================
Making internal links is like making external links.
The only difference is that the ``href`` attribute of the :html:`a` tag contains the name of the page you want to link instead of a web address.
For example, if you have two pages in the same directory, say :filename:`page0.html` and :filename:`page1.html`, then, on :filename:`page0.html`, you can add the following code:
.. code-block:: html
This is a link to page 1
It's your time to try!
**Add links** on your pages and make sure you are able to navigate from one page to the other, and back.
Summary
=======
HTML is the language we use to build web pages.
A web browser reads HTML code and interprets it to display the corresponding web page.
HTML defines many elements and is written with tags (start tag and end tag) such as :html:`
This tag has something new: ``alt`` and ``src`` are *attributes*.
Attributes specify behaviors of the tag.
Here, the ``src`` attribute indicates where to find the image, and the ``alt`` attribute defines an alternative text that will be displayed if the image cannot be loaded.
.. warning:: An :html:`img` tag does not need a closing tag.
It is quite rare.
Step 6 - Image (3/3)
====================
Using the :html:`img` tag you have just learned, include in :filename:`page1.html` a photo of *Sir Tim Berners Lee*. You will find and image in the directory named :filename:`images`.
Be careful, as the photo is in the :filename:`images` directory, and because it is named "Sir_Tim_Berners_Lee.jpg", the ``alt`` attribute should be: ``alt="images/Sir_Tim_Berners_Lee.jpg``.
Step 7 - Links (1/3)
====================
HyperText is all about links... so let's make **links**.
There are two types of links: internal links (between your pages) and external links (to the web).
In both cases we use the same tag.
Let's see an example:
.. code-block:: html
Click here to go to the W3C web page
Like the :html:`img` tag, the :html:`a` tag has an attribute: ``href``.
Like most of the other tags, the :html:`a` element has a start and a end tag.
Step 7 - Links (2/3)
====================
Using the tag you've just learned (see below), add a link around the address at the bottom of the page.
.. code-block:: html
Click here to go to the W3C web page
Try it in your browser!
Step 7 - Internal links (3/3)
=============================
Making internal links is like making external links.
The only difference is that the ``href`` attribute of the :html:`a` tag contains the name of the page you want to link instead of a web address.
For example, if you have two pages in the same directory, say :filename:`page0.html` and :filename:`page1.html`, then, on :filename:`page0.html`, you can add the following code:
.. code-block:: html
This is a link to page 1
It's your time to try!
**Add links** on your pages and make sure you are able to navigate from one page to the other, and back.
Summary
=======
HTML is the language we use to build web pages.
A web browser reads HTML code and interprets it to display the corresponding web page.
HTML defines many elements and is written with tags (start tag and end tag) such as :html:`
` and :html:`
`.
Some elements may have attributes such as in the followig example:
.. code-block:: html
This is a link to page 3